Did you know that there are 3.7 billion email users in the world today? And, by 2022, this number is predicted to reach 4.1 billion. This tells us that with Email Marketing, you could reach out to half of the total population in the world. This creates an ocean of opportunities for you as a brand marketer.
According to 2018 Email Marketing Industry Report by Emma, 59% of the marketers declare that email marketing is the strongest source for ROI.
By now you must feel the need to increase your email audience?
Replug can turn the tables for your brand. Grow your email contacts by integrating with your favorite Email Marketing platforms. Replug will collect the email addresses of the relevant consumers and send them to your integrated tools. Educate your audiences and utilize them to mount your brand.
Moosend
Moosend serves Email Automation for its users. With Moosend you can automate your workflows and sync your data without any restrictions. With their online application, you can focus on enhancing your business rather than sending out emails.
Good news for you is that you can multiply your email engagers by connecting with your Replug account.
You can link both of your accounts in 2-3 minutes and enjoy the reward.
Let’s begin!
Step#1: Find Moosend API key
The Moosend API key will enable your connection with the external tools.
Log into your Moosend account and go to Settings. You’ll find your Moosend API key at the bottom left corner. Copy this key.

Step#2: Connect with your Replug Account
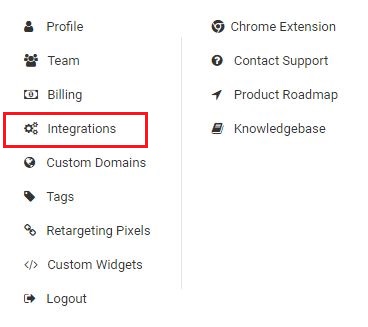
Go to Integrations in your Replug Account and find Moosend in the list.
Connect with Moosend.

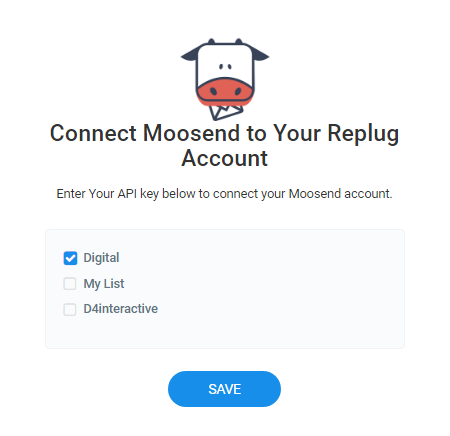
Here, Replug will ask you to enter your Moosend API Key you copied in the first step.
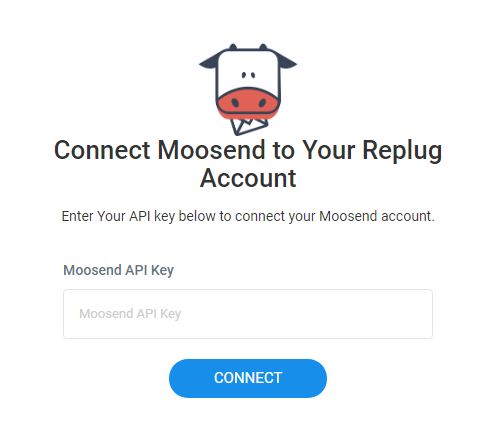
Enter your API Key and click Connect.
Step#3: Connect your Mailing List
Next, Replug will show your Moosend E-mail lists to you. Connect your email list with your Replug Account. Replug will redirect the relevant email addresses to your connected list.
Step#4: Create a Call to Action in Replug
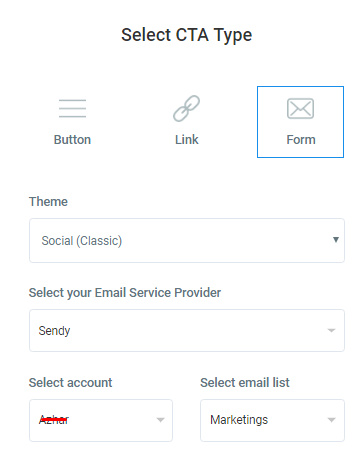
In this step, you will create the branded CTA using Replug. Select your campaign and start creating your CTA.
- Select the CTA type as Form.
- Select Moosend as your Email Service Provider.
- Select the Account.
- Select the email list.
Sendlane
Sendlane is another tool that automates your emails for you. They provide advanced features of Email Retargeting and Real-Time Event Tracking to optimize your email marketing. Their Email Editor provides you with a number of templates to represent your business properly.
Build up your Sendlane Email list by integrating your account with Replug. The integration is as easy as it gets. Let’s proceed with the integration.
Step#1: Your Sendlane Credentials
As you already know, the credentials would enable the integration with an external application. Log into your Sendlane account and check your Account Settings. You can locate your API key inside Your Security Credentials. Copy these for the next step.

Step#2: Connect with Your Replug Account
Log into your Replug Account and go to Integrations.

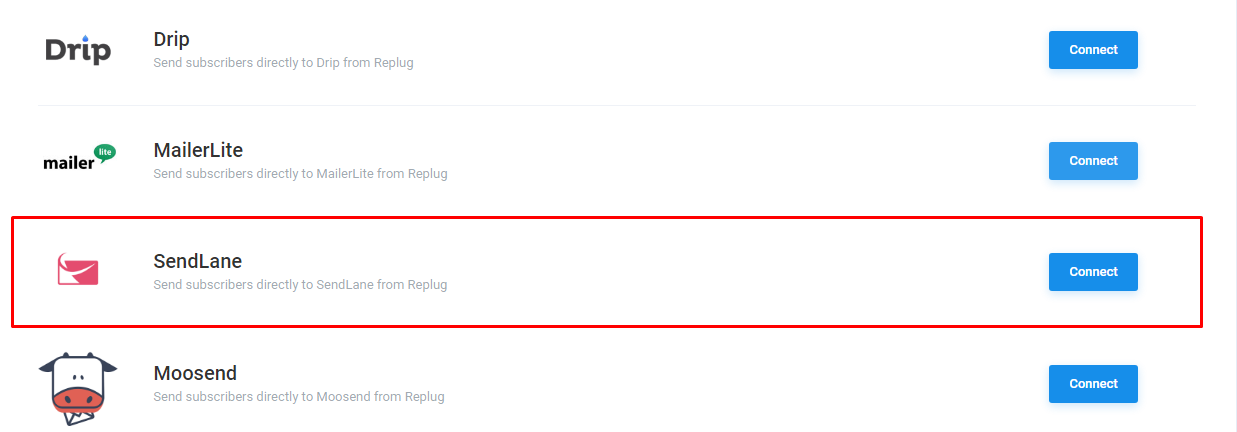
Find Sendlane in the list and click on Connect.
Replug will ask you to enter your Access token. Enter your Sendlane API Key, Sendlane API Hash, and Sendlane URL. And, click on connect.
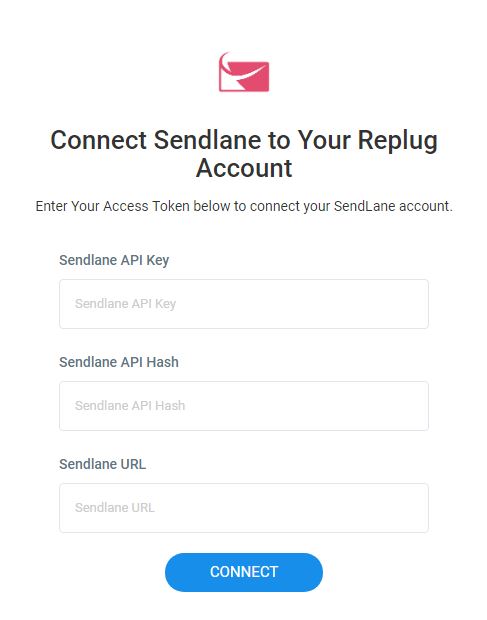
Upon successful connection, Replug will ask you to link your Sendlane Email list.
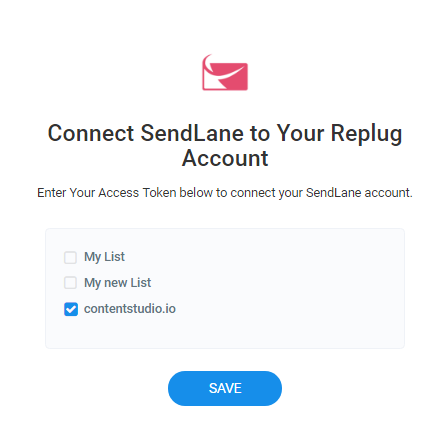
Save your selected lists.
Step#4: Create a Call to Action in Replug
Your call to actions will drive email subscribers to your integrated Sendlane Account. You can refer to section 1 of this article to learn to create a call to action in Replug.
Sendpulse
Sendpulse combines all delivery channels on one platform. Not only can you enjoy their email services, but you can also broadcast your messages via Web push, SMS, Viber, Facebook Messenger and more.
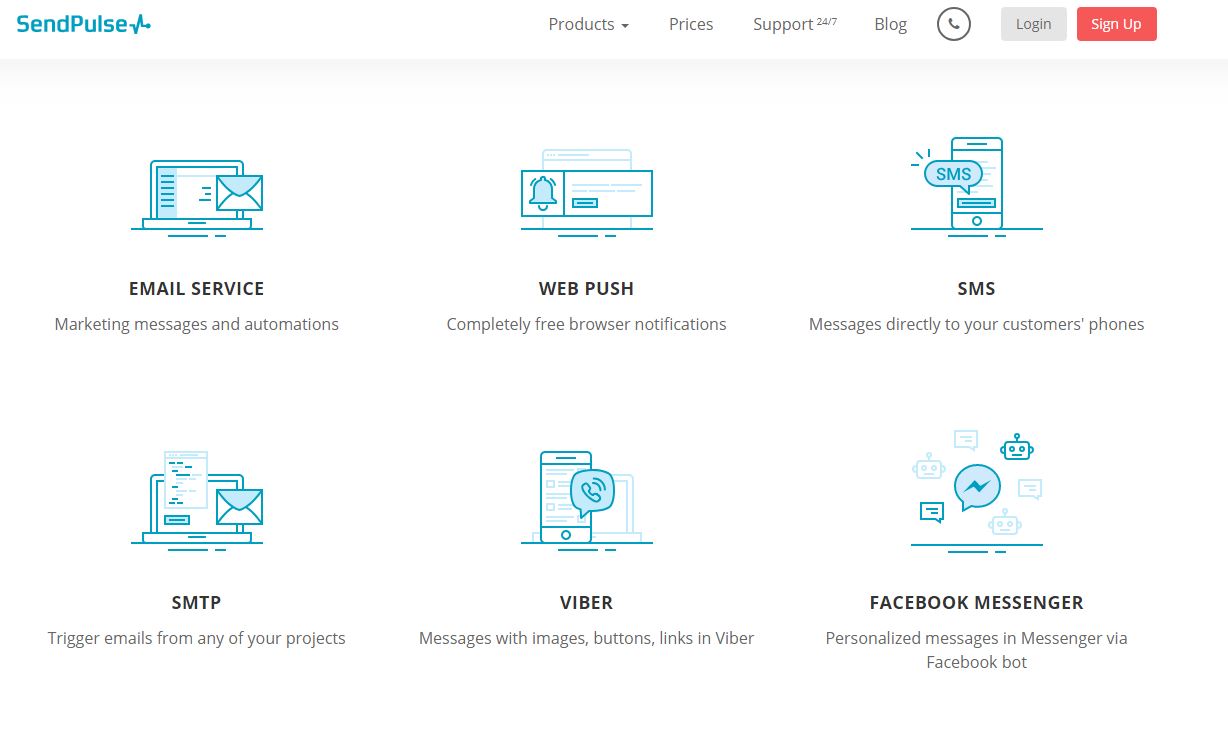
Manage your contacts by gathering subscribers via Replug and firing them to your Sendpulse lists.
The fluid integration of your Replug and Sendpulse account will save your time and maximize the results for you. Let me show you how to integrate both of your accounts.

Step#1: Your Connection Token
To start with, find your Sendpulse connection token. The connection token consists of your Sendpulse unique ID and a secret key.
Go to your Account Settings and click on API.
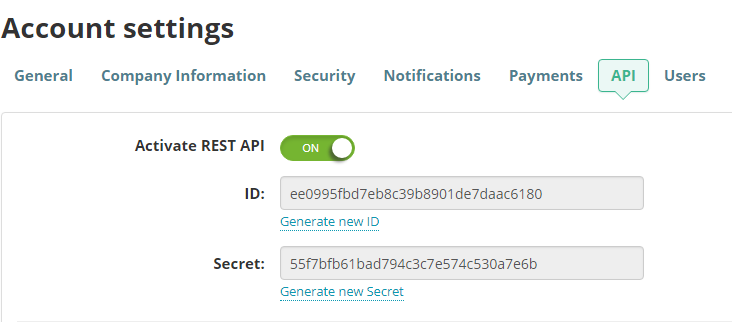
Activate the toggle button to view your ID and secret key.
Step#2: Connection with Replug Account
Go to Integrations in your Replug and find Sendpulse in the list.

Click on Connect.
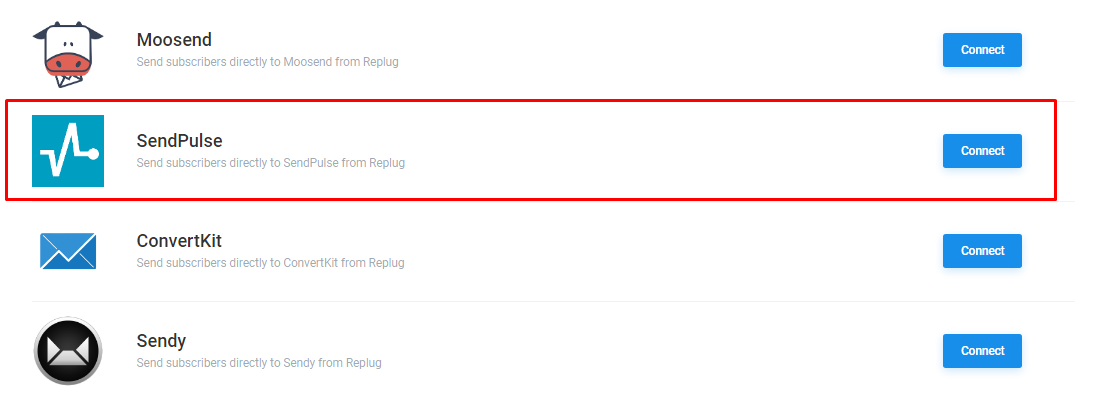
A prompt will appear which will ask you to enter your ID and Secret Key. Enter those and click on connect.
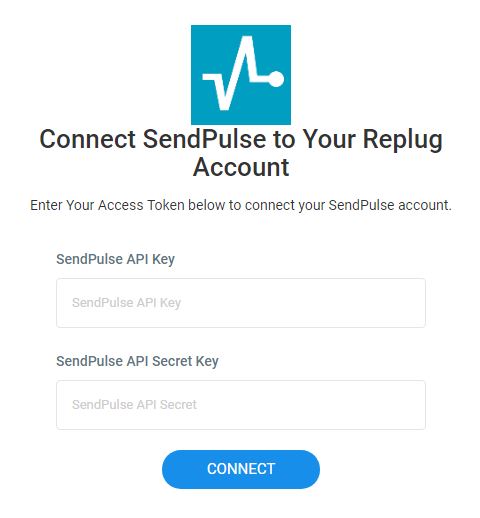
These are the required steps to complete the integration.
Step#3: Create a Call to Action in Replug
Jump up to section 1 to learn how to create a call to action in Replug.
Connect with Us
You’re guaranteed a success by using any of these three tools along with your Replug account. Stay connected with us to find out more about Replug’s latest Integration in the next Episode.
If you have already used this feature, please share your experience in the comment section.
Let’s grow together!


