In the crowded online world, getting noticed is key. Here’s where personalized URLs steal the show – your ticket to stand out from the crowd. They boost your brand, help with SEO, and make it simple for visitors to find you.
Forget random numbers; go for a web address people remember. This guide will explain the benefits of personal URLs, explain their benefits, and provide step-by-step instructions on switching to a personalized version.
Let’s make your web presence pop!
What are personal URLs?
Personal URLs, or custom domain names, are web addresses tailored to an individual or brand. Instead of a generic string of characters, these URLs reflect your identity, making them more memorable and brand-friendly.
Top benefits of personal URLs:
Personal URLs offer numerous benefits for individuals and businesses alike. Here are some key benefits:
- Reinforce and enhance brand identity. They are more memorable and are easier for your audience to recall.
- Look much more professional than generic URLs. This is particularly important for professionals such as freelancers, consultants, and businesses.
- Lead to higher CTR (click-through rates). When users see a familiar or relevant URL, they are more likely to click on it.
- Easier to share across platforms such as in emails, social media posts, or business cards, leading to higher engagement.
- Positively impact SEO (Search Engine Optimization) by including relevant keywords in your personal URL.
- Help track analytics using link management tools. This data can help refine your marketing strategies.
- Provide control over the destination link by allowing you to update the URL destination without changing the original link.
- Enhance the user experience by matching the URL to the content it represents, making it more intuitive for users.
- Boost social proof and trust which can lead to increased engagement and conversions.
- Offer the flexibility to create links that reflect specific campaigns, promotions, or content.
Examples of personal URL
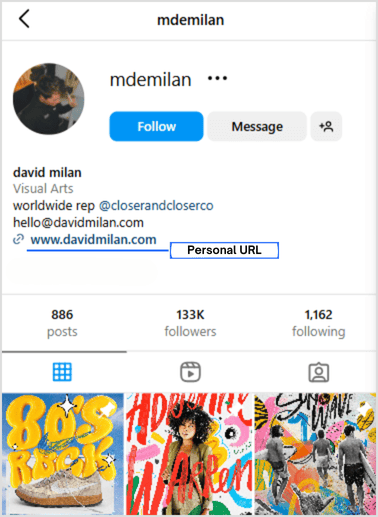
- Personal websites: David Milan, a famous visual arts designer, has a personal URL for his website to showcase his portfolio:
- Social Media profiles: Charli d’Amelio, a massively famous influencer uses a personal URL in her TikTok bio. This link leads to a bio link page with all her socials:

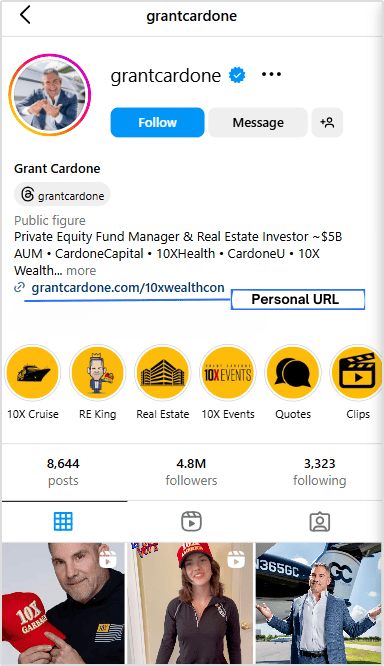
- Business promotions: Grant Cardone, a sales training consultant and public figure promotes his “10x Wealth Conference” through a personal URL in his Instagram bio:
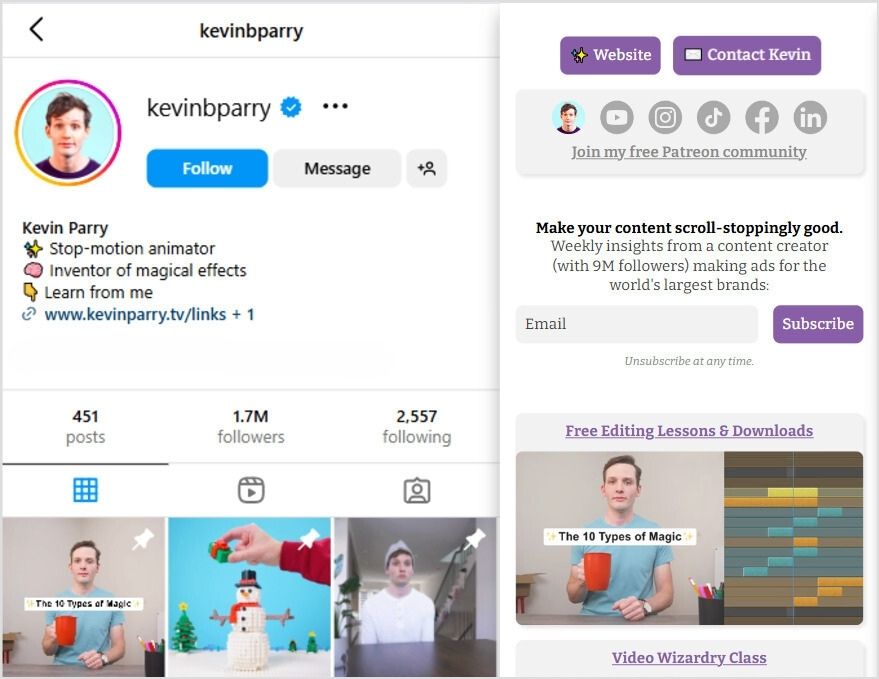
- Content sharing: Kevin Parry, a stop-motion animator and content creator, shares links to his content through his personal URL in his social media bio:
How to create a personal URL using Replug:
Replug is a link management, link tracking, and branded link-shortening platform that allows you to create and track custom short URLs.
To generate a personal URL through Replug, initiate the process by adding your personalized domain:
Crucial Note: Replug automatically generates links using our default shortener domain, replug.link. Nonetheless, you possess the option to elevate your brand representation and domain credibility by integrating a custom domain.
This facilitates the use of branded domains in your advertisements, social link-tracking campaigns, and email communications.
Shorten your links, amplify your brand.
Create shareable, trackable and fully customizable branded urls. Get more clicks with absolute link management features such as Bio Links, retargeting, deep Links, CTA’s and more.
Learn More!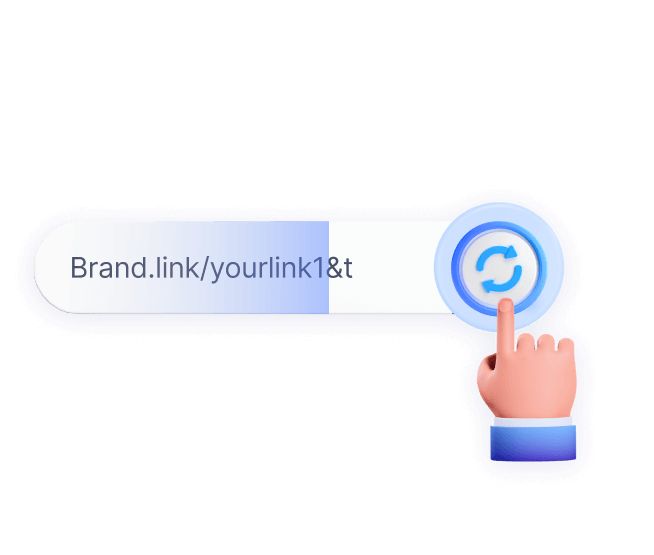
Here is a step-by-step guide to create a personal URL using Replug:
Step 1: Register a custom domain
Domain registration is the first step toward setting up a custom domain no matter what tool you choose to set up the whole thing.
So, to register your custom domain, go to your domain registrar service to check the domain availability and register the domain.
Some top domain registrars that you can use are:
Step 2: Propagate the custom domain with Replug
Once the domain registration has been done, head over to the custom domain configuration with Replug. Pay close attention to this two-step process to make it work.
The first step toward this configuration is the DNS records updating. So, add the DNS records for your custom domain to configure it with Replug.
To get started with DNS records updating, go to your domain registrar account and look out for the desired domain’s DNS settings.

Find the option named “Add New Record” or “Add Record,” to configure the DNS settings.
Now add a CNAME record in your domain setting to configure it with your Replug account.

Click on the “Add New Record” option to include a new record. Add the following details:
- Record Type: CNAME
- Hostname: @ or www
- Point to (Address): Your short domain (URL)
Adding the DNS settings is half the equation – the next half of the process happens in your Replug dashboard.
Step 3: Add a custom domain in Replug
When the DNS setting is done, go to your Replug account to add the custom domain to your Replug account. Here’s how to do it:
1. Navigate to app.replug.io/dashboard/
2. Click on the settings icon – located in the top right corner.
3. Click “Custom Domains” from the drop-down menu.
4. Add custom domain – Enter your domain URL, 404 Redirect URL (if any), and the branded domain name.
5. Save custom domain
Play the video below to see how it’s done:
Step 4: Launch your new campaign
Once you have saved your custom domain, it’s time to create a new campaign in your Replug dashboard.
- Click “Campaigns” in the navigation bar on your Replug dashboard:

- Click the “Create new” button:

- Give your campaign an easy name to remember:

- Click “+ Connect” to connect the custom domain you created earlier (Refer to Step 2):

- Once done, simply save your campaign and you’re done!

Step 5: Customize your shortened URL
Now that you’ve set up and saved your campaign, navigate to the main dashboard of your Replug account. Carefully follow the steps below to create your personal URL:
Step 5.1: Quickly shorten your link

Step 5.2: Customize your generic URL
After you click the blue next arrow, you’ll see a pop-up. From here, you can simply customize your URL.
In our example, the campaign name that we chose was “Amna Yawar Blogs” and the domain name we connected to the campaign is amnaywrites.co. Through our personal URL, we want to direct our audience to the blog page on the website. Here’s what the process will look like:
- Select campaign:

- Create personal URL
Now that we’ve selected our campaign, the domain name will automatically appear in the bar under “original link”. For our campaign, we chose the URL slug /blogs to let our audience know that we’re directing them to the blogs on our website:

- Save and share your personal URL!
Now you have a personal URL that you can save and share with whoever you want, wherever you want; be it on social media, in emails, blog posts, or articles – you name it!

The best part about creating a personal URL with Replug is that as compared to many other link management tools, it allows you to customize your link preview, and favicon, set password protection, set an expiry date for event-based campaigns, A/B test your link, re-route your traffic, create deep links, and so much more!
Do more with Replug
Empowering your marketing endeavours through personalized URL campaigns becomes a breeze with the right tools. The key to success lies in a comprehensive grasp of each aspect of the process and leveraging them cohesively within your marketing strategy.
Upon crafting your personalized URL, Replug steps in as the ultimate companion, offering in-depth metrics for tracking engagement across diverse platforms. Our link management platform equips you with robust analytics at every stage of your campaign, eliminating guesswork from measurement.
This enables you to deliver precisely what your audience desires, exactly where they desire it. With Replug, it’s more than just a link – it’s a gateway to informed and effective marketing.
Link Management Made Easy
Your go to link management tool for CTAs, branded and bio links, QR Codes, tracking and retargeting.
Get Started for FREE!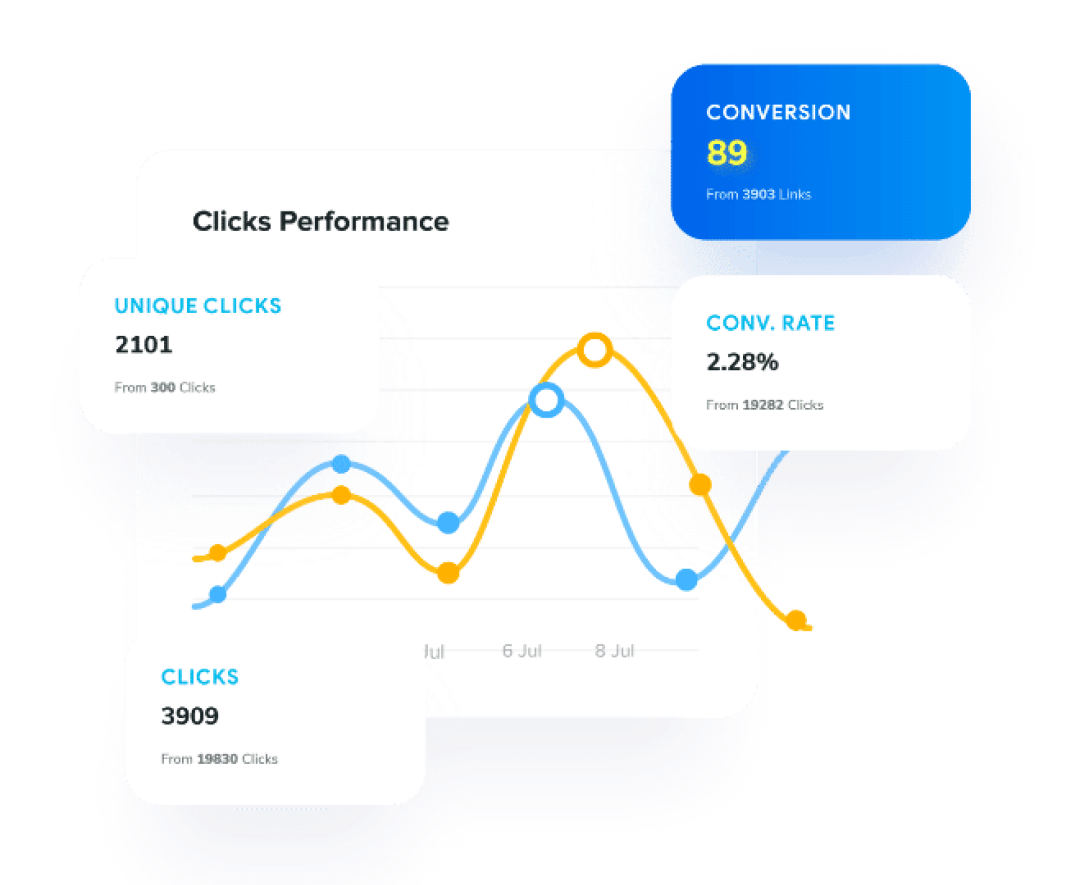
FAQs on how to create a personal URL
What is a personal URL?
A personal URL is a customized web address that includes elements relevant to your brand. It’s crucial for branding as it enhances brand visibility, memorability, and overall recognition in the online space.
What are the benefits of using a custom domain for link shortening?
Using a custom domain for link shortening enhances brand identity, establishes trust, and allows for consistent branding across various marketing channels.
How does Replug help in creating custom short URLs?
Replug facilitates the creation of custom short URLs by allowing users to integrate their branded or custom domains, providing a more personalized and branded link management experience.
What are the advantages of using Replug for link management and analytics?
Replug offers comprehensive link management features, including detailed analytics, tracking, and the ability to customize and optimize links for effective marketing campaigns.


